MapleStory Classic Spearman Guide: Best Build & Leveling 30-70
SEO Metadata
SEO Title: MapleStory Classic Spearman Guide: Best Build & Leveling 30-70
MapleStory Classic Spearman Guide: Best Build and Leveling 30-70
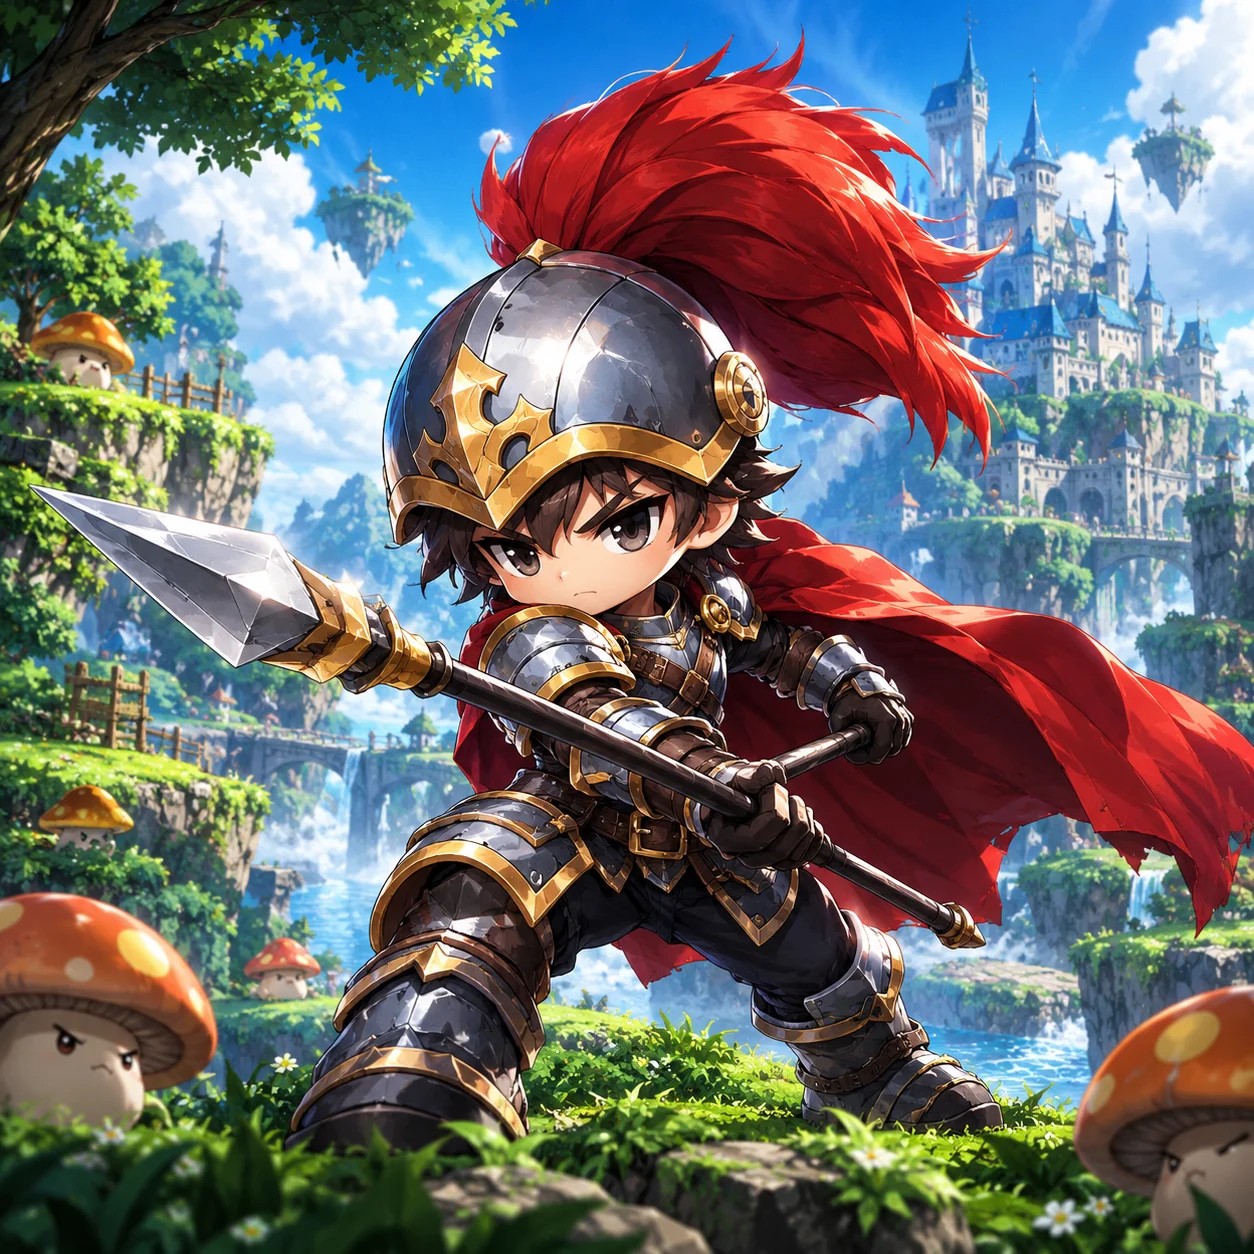
The Spearman is one of the most durable Warrior branches in MapleStory Classic, combining long melee reach, strong single-target attacks, multi-target damage, and excellent damage efficiency. After reaching level 30, your main challenge is no longer simply finding monsters to defeat. You need to choose between spears and polearms, distribute your Skill Points correctly, maintain enough Accuracy to hit consistently, and find training maps where your character can earn experience without wasting mesos on excessive potion consumption.
Unlike Fighters, who specialize in a different set of melee skills and party utility, Spearmen build their identity around weapon-specific Mastery, Booster, Final Attack, and Rush. Their second-job progression is relatively straightforward once you understand how these skills work together. The important part is making decisions that improve your real combat performance instead of following a build blindly.
This guide covers the complete level 30-70 progression, including a practical skill order, stat allocation, weapon comparisons, recommended training areas, and mistakes that can slow your character down.
Is Spearman a Good Class in MapleStory Classic?
Spearman is a strong choice for players who want a durable melee character with efficient leveling and the option to develop into a Dragon Knight later. Spears and polearms have greater basic attack reach than most other Warrior weapons, which helps you engage monsters earlier and maintain better spacing during combat.
The class also benefits from Final Attack, which can trigger an additional strike after an eligible attack and recover some HP from the damage dealt. This provides useful offensive value while making certain fights less expensive to sustain. Meanwhile, Rush helps gather monsters into a smaller area, making it easier to continue attacking instead of chasing enemies across a map.
There are trade-offs. Spearman is not a highly mobile ranged class, and its second-job progression does not introduce a completely new primary damage rotation. Power Strike remains important against individual monsters, while Slash Blast is the skill you use when several enemies can be hit together. You also need to specialize your Mastery, Booster, and Final Attack skills around the weapon family you intend to use.
Choose Spearman if you enjoy direct melee combat, want a resilient character for extended grinding, and are comfortable managing weapon requirements and Accuracy. Your results will depend heavily on your equipment, skill allocation, attack speed, and choice of training targets.
Claim your first-visit discount now
Spear vs. Polearm: Which Weapon Should You Choose?
Your first major decision after becoming a Spearman is whether to specialize in spears or polearms. Both weapon families have long melee reach, but their damage patterns, Mastery bonuses, attack speeds, and available equipment differ.
For most players who want a straightforward leveling setup, polearm is a strong default choice. Its common attack pattern favors the stronger swing animation, and Polearm Mastery provides a substantial movement speed bonus. Spears remain a competitive alternative, particularly when you acquire a faster weapon or prefer the benefits offered by Spear Mastery.
Feature | Spear | Polearm |
|---|---|---|
Main advantage | Faster options at certain levels and a chance to ignore enemy physical defense | Stronger average attack pattern and bonus movement speed |
Mastery benefit | 20% chance to ignore enemy WDEF at maximum Mastery | +20 movement speed at maximum Mastery |
Damage pattern | Stronger thrust, weaker swing | Stronger swing, weaker thrust |
Skill specialization | Spear Mastery, Spear Booster, Final Attack: Spear | Polearm Mastery, Polearm Booster, Final Attack: Polearm |
Best suited for | Players who prefer spear-specific advantages and suitable weapon upgrades | Players who value movement speed and consistent leveling performance |
The difference is not simply a matter of choosing whichever weapon has the largest Weapon Attack number. Classic weapon damage depends on attack speed, the attack animation used, your character's STR, Accuracy, Mastery, and the enemy's defense. A weapon that looks stronger on its item card might not improve your actual experience per hour.
Recommended Weapons by Level
These examples provide useful upgrade milestones as you progress through the second job.
Level | Spear | Polearm |
|---|---|---|
30 | Forked Spear, 52 W.ATK | Mithril Pole Arm, 55 W.ATK |
35 | Nakamaki, 57 W.ATK | Axe Pole Arm, 60 W.ATK |
40 | Zeco, 59 W.ATK | Crescent Polearm, 65 W.ATK |
50 | Serpent's Tongue, 69 W.ATK | The Nine Dragons, 75 W.ATK |
60 | Holy Spear, 82 W.ATK | Skylar, 85 W.ATK |
70 | Redemption, 95 W.ATK | The Gold Dragon, 95 W.ATK |
These are reference values before accounting for scroll upgrades. Availability, prices, and the condition of weapons on the market can change which upgrade makes the most sense for your character.
Do not replace a properly scrolled weapon just because you have reached a new level. Compare its actual attack power, speed, purchase cost, and the cost of upgrading your next weapon before spending your mesos.
Best Spearman AP Build: STR and DEX
STR is the primary damage stat for Spearman. DEX matters because it contributes to Accuracy and helps satisfy equipment requirements, but unnecessary DEX investment takes Ability Points away from your main source of damage.
The most reliable approach is to keep enough total DEX to equip your intended weapon and reach a suitable hit rate against the monsters you plan to farm. Put your remaining AP into STR.
One important detail is that weapon requirements use your total stats, including bonuses from equipment. If your weapon requires 40 DEX and your equipment already supplies four DEX, you do not need 40 base DEX. You need 36 base DEX to meet that requirement, assuming your other equipment bonuses remain unchanged.
Recommended Stat Priorities
Stat | Priority | Reason |
|---|---|---|
STR | Highest | Primary contribution to physical damage |
DEX | As needed | Weapon requirements and Accuracy |
INT | Avoid additional investment | Does not support the standard physical damage build |
LUK | Avoid additional investment | Not a priority for a conventional Spearman |
For a practical example, a level 30 Spearman might enter the second job with approximately 135 base STR and 27 base DEX. Equipment can then supply the additional DEX needed for the next weapon. This is a reference build, not a requirement that every character must copy exactly.
As you level, check your equipment before allocating each set of AP. If your next weapon requires more DEX, invest only what is necessary. Once the requirement is covered, return to STR.
Do Not Ignore Accuracy
High physical damage is of limited value if your attacks frequently miss. This becomes particularly important when moving to monsters with higher Avoidability or fighting enemies above your own level.
The following values are reference Accuracy requirements for a level-matched character aiming to hit every attack against selected monsters.
Monster | Monster Level | Approximate ACC for 100% hit rate |
|---|---|---|
Jr. Wraith | 34 | 82 |
Lorang | 38 | 79 |
Zombie Lupin | 41 | 95 |
Wraith | 48 | 104 |
Croco | 52 | 101 |
Wild Kargo | 62 | 117 |
Tauromacis | 70 | 132 |
Use these numbers as starting points rather than universal guarantees. Fighting above your character's level raises the Accuracy requirement, and your build should be evaluated against your actual target.
When you notice repeated misses, check your total Accuracy before adding more DEX. Equipment, temporary Accuracy potions, and a different training target may solve the problem more efficiently.
Spearman SP Build: Levels 30-70
Your Skill Point allocation determines how quickly your character develops. The recommended approach is to establish weapon Mastery first, improve your main damage through Final Attack, extend your attack speed buff, and then invest in Rush and Iron Will.
The following order follows a spear-focused build. If you choose polearm, use Polearm Mastery, Final Attack: Polearm, and Polearm Booster in the same allocation positions.
Level | Skill allocation | Main objective |
|---|---|---|
30 | Rush +1 | Gain an early movement and mob-control skill |
31-38 | Max Spear Mastery, taking early points in Booster and Final Attack | Improve damage consistency and unlock core skills |
39-47 | Final Attack: Spear to level 30 | Increase follow-up damage and HP recovery |
48-54 | Spear Booster to level 20, then add Rush | Improve attack speed uptime |
55-60 | Max Rush | Improve mob grouping and movement across the map |
61-70 | Max Iron Will | Finish the defensive utility investment |
At level 32, take a point in Spear Booster so you can begin using the attack speed buff. Introduce Final Attack during the early Mastery investment, then complete Mastery before committing the bulk of your points to Final Attack. By level 54, the recommended route has maxed Booster and returns to Rush. Complete Rush before spending the later points on Iron Will.
The level 70 reference build finishes with Spear Mastery 20, Final Attack: Spear 30, Spear Booster 20, Rush 20, Iron Will 30, and one point in Polearm Mastery. The equivalent polearm build reverses the weapon-specific Mastery and Final Attack choices. The point in the opposite weapon mastery is a spare investment, not a reason to split your main weapon specialization.
Do not spend second-job SP trying to repair your first-job build. Skill Points from the second job cannot be allocated to first-job skills, so check your first-job allocation before completing the advancement at level 30.
How to Use the Main Spearman Skills
A good build matters, but using your skills appropriately is just as important. Spearman becomes easier to level when each ability has a clear purpose instead of being used automatically on cooldown.
Power Strike
Power Strike is your main option when attacking a single monster. It focuses your damage on one target and is particularly useful when you can defeat an enemy with a predictable number of hits. Combine it with your weapon's reach and active Booster to shorten the time spent fighting each monster.
Slash Blast
Slash Blast is the better choice when several monsters can be struck together. Hitting multiple targets increases its value, but the best number of monsters depends on your damage, their remaining HP, and how much MP you spend per cast.
Avoid using it mechanically against every monster group. If your damage is too low to finish the targets efficiently, you may spend more on potions and attacks than the additional experience is worth.
Weapon Mastery
Mastery is an important early investment because it improves the consistency of your weapon damage and unlocks the subsequent parts of your build. Complete the Mastery associated with your chosen weapon rather than spreading points between both weapon families.
Weapon Booster
Booster significantly improves your attack speed and helps increase damage over time. The first point already provides the main speed benefit, while additional points extend the duration and make the buff less expensive to maintain.
Refresh it before it expires when you are grinding for a long period. At maximum level, the spear and polearm versions last 300 seconds.
Final Attack
Final Attack adds a chance for an additional hit after eligible attacks. At maximum level, the matching weapon version has a 25% chance to deal a 350% follow-up attack against one monster. It also absorbs a portion of the damage as HP, subject to the skill's healing limits.
This can be very useful against single targets, especially when the extra attack saves you from needing another full attack. However, Final Attack has its own animation and MP cost. When Slash Blast is hitting a large group, the additional attack can be less efficient than using the area skill alone.
Think of Final Attack as a damage and sustain tool that needs to fit the fight, rather than a buff that must be kept active every second. Reapply it when necessary, and pay attention to whether it improves your actual kill speed.
Rush
Rush is your primary mob-control tool. It moves you forward while attacking and knocking back a group of monsters, helping you gather targets for the next Slash Blast.
Its value increases when you use it to improve your route through a map rather than repeatedly spending MP to move only a short distance. Level 10 reaches 150 movement distance, and higher ranks improve its damage and MP efficiency.
Iron Will
Iron Will improves physical defense and provides a chance to resist knockback. It is useful for maintaining your position during melee combat, but it does not replace sufficient Accuracy or sensible potion management.
Because your early priority is to improve your damage and movement tools, Iron Will generally comes later in the second-job build.
Best Spearman Training Maps by Level
Your best training map depends on your damage, hit rate, equipment, and how quickly you can move between monster groups. The following locations are practical starting points for levels 30-70.
Character Level | Main Training Area | Alternative |
|---|---|---|
30-34 | Line 1, Area 1 | Tree Dungeon, Forest Up North IV |
35-39 | Ant Tunnel IV | Ant Tunnel I |
40-49 | Ant Tunnel II | Ant Tunnel III |
50-59 | The Burnt Land I | The Burnt Land III |
60-69 | Tree Dungeon, Forest Up North IX | Tree Dungeon, Forest Up North VIII |
70 | Forest of Evil II | Line 2, Area 3 |
Treat these locations as a starting route, not an absolute ranking for every Spearman. The estimates behind a training recommendation depend on the character's equipment, skill levels, monster hit rate, and number of attacks required to secure a kill. A different weapon or an Accuracy improvement can change which map gives you the best experience per hour.
Levels 30-39: Build Your Core Skills
Early second-job leveling should focus on Mastery, Booster, and the beginning of Final Attack. At this stage, do not choose monsters solely because they give more experience per kill. A target that takes several additional attacks can be less efficient than a lower-level monster you defeat consistently.
Use Rush when it saves movement or brings enemies together. If a map is crowded, test the alternative location rather than spending your entire session waiting for respawns.
Levels 40-49: Improve Damage Consistency
Once your core skills are developing, prioritize targets you can defeat with one or two efficient attacks. Ant Tunnel locations can provide a useful balance of monster density and manageable combat, depending on your current weapon and Accuracy.
This is also a good stage to review equipment. If your current weapon is falling behind, compare the next available upgrade against the cost of scrolling and the price of a replacement.
Levels 50-59: Keep Kill Times Low
The Burnt Land areas are useful options for this stage. Compare the two routes with your real damage and movement speed. A map that looks excellent on paper might perform poorly if you have to travel too far between targets or use too many potions.
As you get closer to level 60, make sure your weapon and Accuracy remain suitable for the monsters you are farming. Do not assume that more STR alone will compensate for missed attacks.
Levels 60-70: Prepare for the Next Milestone
Tree Dungeon, Forest Up North VIII and IX are options to test through the upper levels of the second job. At level 70, you can also compare Forest of Evil II with the alternative Line 2, Area 3 route.
Before committing to a map, evaluate your damage, hit rate, potion use, and the time spent moving between monsters. The fastest leveling route is the one that produces consistent experience across a full session, not necessarily the one with the highest experience listed for each individual monster.
Managing HP, MP, and Mesos
Spearman can offer good damage per point of MP, but that does not mean leveling is free. Power Strike, Slash Blast, Booster, and Rush all consume resources, while misses and inefficient movement make each level more expensive.
Buy potions according to their recovery per meso rather than choosing an item simply because it restores the largest amount of HP or MP in one use. For MP, Lemon restores more MP per use than Orange while offering comparable recovery per meso under the reference shop prices. Larger refills can also mean fewer interruptions during a long training session.
Accuracy potions are most useful when they remove misses or let you farm a better map. Before spending mesos on temporary buffs, check whether you already have a reliable hit rate against your intended targets. A potion that does not change your performance is an unnecessary cost.
The same principle applies to equipment. A modest upgrade that reduces your average number of attacks per monster can improve experience per hour and lower potion consumption. Avoid spending heavily on small defensive increases if your biggest problem is slow damage or an unsuitable training location.
Common Spearman Build Mistakes
Splitting weapon specialization. Spears and polearms use different Mastery, Booster, and Final Attack skills. Choose your intended weapon path early and invest in its matching abilities.
Putting too much AP into DEX. You need enough DEX for equipment and Accuracy, but every unnecessary point is a missed opportunity to increase STR. Include your equipment bonuses when calculating your requirements.
Grinding above your reliable hit rate. A higher-level monster does not automatically give better experience per hour. If it causes frequent misses or takes too long to kill, move to a more suitable target.
Using Rush without a purpose. Rush is excellent when it combines movement with mob control. Using it repeatedly without a clear route can waste MP and disrupt your attacking rhythm.
Ignoring attack speed buffs. Booster increases the number of attacks you can perform over time. Letting it expire during sustained grinding can lower your damage output.
Keeping Final Attack active without considering the target. The skill is helpful when its extra strike improves your kill time, but its animation and MP cost matter during multi-target combat.
Buying equipment without comparing the numbers. Look at Weapon Attack, attack speed, your current scroll upgrades, and the cost of the replacement. The newest weapon is not always the most cost-effective upgrade.
What Happens After Level 70?
Spearman is the second job on the path toward Dragon Knight. The future third-job skills will eventually change how the class plays, but players should build their current character around the abilities and equipment available in the live game.
Until the next advancement becomes available, finishing the second-job skill build, improving your equipment, and developing an efficient training routine are worthwhile goals. There is little value in sacrificing your current leveling performance for a future skill setup whose availability and final implementation have not been confirmed.
Keep checking official game updates before making expensive long-term decisions based on expected future abilities.
Frequently Asked Questions
Is Spear or Polearm better for Spearman?
Polearm is a strong default for leveling because its attack pattern favors the stronger swing and its Mastery adds movement speed. Spear has its own advantages, including a chance to ignore enemy physical defense and faster weapons at some levels. Compare the actual weapon, its scroll upgrades, and your preferred playstyle before committing.
What is the main stat for Spearman?
STR is the main damage stat. Invest in DEX only as needed for weapon requirements and a suitable Accuracy level. Remember that equipment bonuses count toward your total DEX.
Which Spearman skills should I max first?
A practical order is to invest in Rush at level 30, develop your weapon Mastery, unlock and then max the matching Final Attack, max Booster, finish Rush, and complete Iron Will by level 70. Use the matching Polearm skills if you have chosen the polearm route.
Is Final Attack worth maxing?
Yes, it is an important part of the standard second-job build. The follow-up hit can significantly improve single-target damage and restore HP, but its MP cost and animation make it less attractive in some multi-target situations.
Where should Spearman level from 30 to 70?
Start by testing Line 1, Area 1 or Tree Dungeon, Forest Up North IV at levels 30-34. Move through Ant Tunnel, The Burnt Land, and higher-level Tree Dungeon locations as your damage and Accuracy improve. Always compare actual kill speed and potion use before settling on a training map.
Does Spearman become Dragon Knight at level 70?
Level 70 is the milestone for finishing the second-job build and preparing for the next advancement. The live game's third-job availability should be checked against the latest official announcements rather than assumed from the traditional MapleStory progression.
Final Thoughts
Spearman rewards players who balance reliable damage, weapon specialization, Accuracy, and efficient movement. Start with a weapon path that suits your budget, keep DEX near the level you actually need, and prioritize the skills that improve your damage over time. As you progress, evaluate training maps based on real performance instead of monster level alone.
For the broader Warrior foundation before level 30, read our MapleStory Classic Warrior Guide. You can also compare the alternative second-job route in our MapleStory Classic Fighter Guide.
If you would rather spend less time grinding and more time developing your character, explore MapleStory Classic leveling services at misti.services for assistance with your progression.