Auriferous Venomfang Mount Guide – All Coiled Isle Treasures
Auriferous Venomfang Mount Guide: Treasures of the Coiled Isle
Updated August 2026
If you're hunting for the Auriferous Venomfang mount in World of Warcraft Midnight, the good news is that you don't need to grind a reputation bar or defeat some miserable raid boss hundreds of times.
The bad news? You do need to find all 22 treasures on the Coiled Isle.
The mount is the reward for completing Treasures of the Coiled Isle, an achievement that sends you around the island looking for hidden chests, forgotten objects, NPCs, and a handful of puzzles. Most of the treasures are simple. Seven of them, however, make you do something before they'll let you walk away with the loot.
This guide covers all 22 Coiled Isle treasures, including coordinates and step-by-step solutions for every puzzle treasure. If you're here purely for the mount, you can follow the list from top to bottom and avoid wasting time figuring out what Blizzard wanted you to do.
How to Get the Auriferous Venomfang
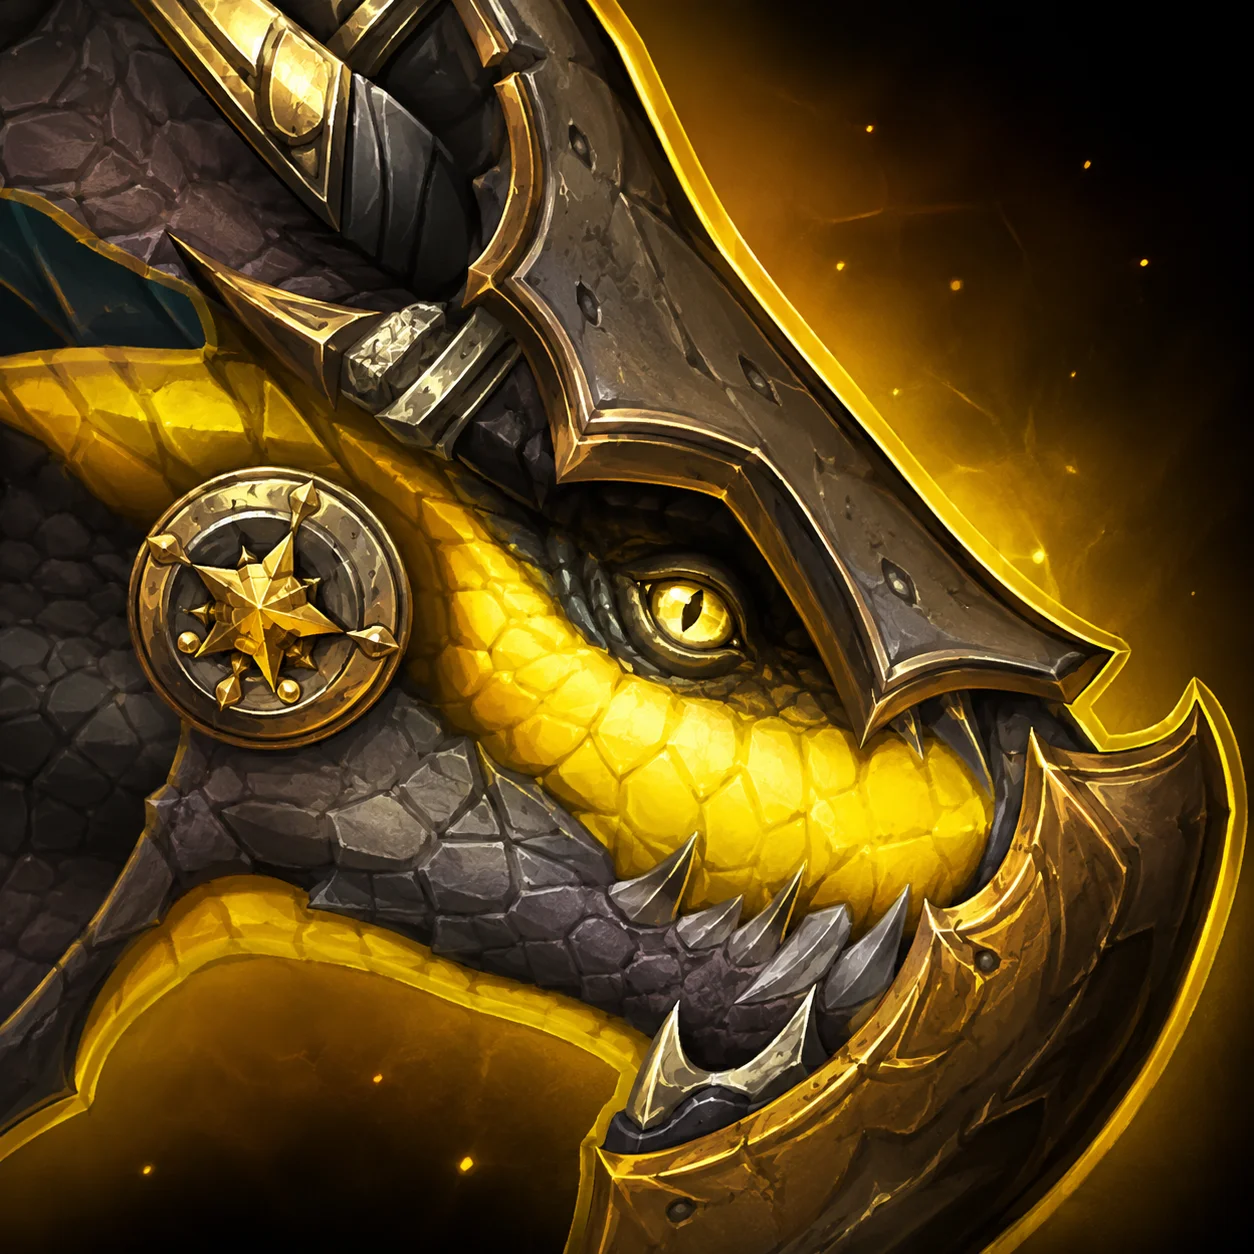
To obtain the Auriferous Venomfang, you need to complete the Treasures of the Coiled Isle achievement.
The achievement requires you to collect 22 treasures scattered across The Coiled Isle:
15 standard treasures that can be looted immediately
7 puzzle or quest-style treasures that require additional steps
Completing the achievement rewards the Auriferous Venomfang mount
The island was introduced with WoW Patch 12.1: Curse of Ula'tek, part of the Midnight expansion.
Before you start flying around the island looking for chests, make sure you've unlocked The Coiled Isle through the relevant Curse of Ula'tek campaign chapter.
Once the island is unlocked, you can fly around it normally. That makes this achievement considerably less painful than it would be if Blizzard had decided to hide 22 treasures on the ground while taking flying away from us.
Treasures of the Coiled Isle: All 22 Locations
Here is the complete list of treasures required for the achievement.
Treasure | Coordinates | Type |
|---|---|---|
Vul'zahn's Smuggled Treasure | 58.2, 45.7 | Puzzle |
Grave of Someone Forgotten | 67.3, 48.5 | Puzzle |
Amani Privateer's Cache | 71.9, 66.6 | Puzzle |
Lost Spirit | 68.0, 65.9 | Puzzle |
Brine-Crusted Chest | 70.6, 76.6 | Puzzle |
Profane Ritual Spoils | 43.6, 67.5 | Puzzle |
Sunken Diver's Chest | 65.4, 5.8 | Puzzle |
Possessed Vase | 31.4, 83.5 | Standard |
Tarnished Amani Glaive | 55.2, 38.0 | Standard |
Damaged Loa Trinket | 46.9, 29.6 | Standard |
Ornate Bottle | 67.0, 28.0 | Standard |
Waterlogged Basket | 49.5, 32.0 | Standard |
Crumbling Urn | 73.5, 56.5 | Standard |
Fangbound Sack | 45.9, 66.3 | Standard |
Malfunctioning Staff | 75.4, 68.4 | Standard |
Jaktu's Cursed Blade | 60.4, 59.5 | Standard |
Venomjade Necklace | 64.7, 36.6 | Standard |
Stinking Vessel | 53.1, 43.1 | Standard |
Smoldering Incense | 29.5, 67.2 | Standard |
Forgotten Mask | 64.9, 78.9 | Standard |
Zul'jan's Stash | 43.9, 26.5 | Standard |
Tip: If you're using TomTom or another coordinate addon, you can copy these locations directly into your waypoint system and work your way around the island.
The 7 Coiled Isle Puzzle Treasures
The seven puzzle treasures are the ones most likely to slow you down.
None of them are particularly difficult once you know the solution. The problem is that the game doesn't always make the next step obvious.
Here's how to complete each one.
Claim your first-visit discount now
1. Vul'zahn's Smuggled Treasure
Coordinates: 58.2, 45.7
This treasure starts a small cooking and medicine chain.
When you first find Vul'zahn, he'll refuse to open the treasure because he needs food.
Naturally, the solution is not to find a key.
It's to become a delivery driver.
How to complete Vul'zahn's Smuggled Treasure
Speak to Vul'zahn at the treasure.
Find the nearby Witherbark Cook.
Speak to the cook and you'll learn that he needs medicine before he can prepare the stew.
Find Apothecary Dezi nearby.
Take the medicine to the Witherbark Cook.
Collect the finished stew.
Return to Vul'zahn.
Give him the stew.
Loot the treasure.
That's it.
The treasure itself isn't complicated. The game simply makes you complete the little NPC chain first.
2. Grave of Someone Forgotten
Coordinates: 67.3, 48.5
This one involves several wandering spirits scattered around the area.
Start at the grave and interact with the ghost beside it. That begins the treasure's chain.
You'll then need to find three spirits.
-Kcc3aF3dlR3BLcf4gS4Y8Ind8tGCcn.webp)

Spirit locations
Zan'ja
70.4, 58.4
Ru'ko
66.4, 57.2
Zuzan
69.1, 52.7
Speak to each spirit before returning to the original grave.
Once you've completed all three conversations, go back to the grave at 67.3, 48.5.
The treasure should now be available.
Quick version
Grave → Zan'ja → Ru'ko → Zuzan → Grave
If the chest isn't opening, double-check that you've spoken to all three spirits.
3. Amani Privateer's Cache
Coordinates: 71.9, 66.6
This is probably one of the more entertaining treasure puzzles on the island, mostly because it involves feeding a dolphin.
The dolphin is near the treasure, but you can't simply interact with it.
First, you need something it wants to eat.
Step 1: Catch the fish
Head to the Grisly Cod Pool at 73.4, 66.1.
Fish there until you obtain a Grisly Morsel.
Step 2: Feed the dolphin
Take the Grisly Morsel to the nearby dolphin and feed it.
Once that's done, head underwater.
Step 3: Find the first key half
Look for the Waterlogged Crate at 73.1, 67.0.
Loot it to obtain the first half of the key.
Step 4: Find the second key half
Continue underwater to the Broken Urn at 72.4, 68.4.
Loot the second key piece.
Step 5: Combine the pieces
Combine both key halves in your inventory.
You can now return to the Amani Privateer's Cache at 71.9, 66.6 and open it.
A surprisingly elaborate process for a chest, but at least the dolphin gets a snack out of it.
4. Lost Spirit
Coordinates: 68.0, 65.9
This one is much simpler.
The spirit won't cooperate until you're carrying a specific item: the Forgotten Trinket.
How to complete Lost Spirit
Go to 70.2, 64.5.
Pick up the Forgotten Trinket.
Return to the Lost Spirit.
Hand over the trinket.
Loot the treasure.
There isn't another long chain after that.
If you've reached the spirit and nothing is happening, the missing trinket is almost certainly the problem.
5. Brine-Crusted Chest
Chest: 70.6, 76.6
This treasure sends you underwater to retrieve a pearl.
The item you need is a Luminescent Pearl.
How to get the pearl
Dive down near 71.9, 82.8.
Look for a Bubbling Clam on the seafloor and loot it for the Luminescent Pearl.
Once you have it, return toward the surface.
Give the pearl to Nacretta
Find Nacretta at 70.6, 77.1.
Hand her the Luminescent Pearl.
She'll give you a key.
Take the key and use it to open the Brine-Crusted Chest nearby.
In short
Bubbling Clam → Luminescent Pearl → Nacretta → Key → Chest
6. Profane Ritual Spoils
Coordinates: 43.6, 67.5
This one is the classic "click things in the correct order" puzzle.
You'll find a ritual table with four trinkets.
The correct order is:
Top right
Top left
Bottom right
Bottom left
That's all you need to remember.
If you accidentally click them in the wrong order, don't panic. You're not going to lose the achievement or permanently lock yourself out of the treasure.
Just follow the correct sequence.
Profane Ritual Spoils solution
Top Right → Top Left → Bottom Right → Bottom Left
This is one of those puzzles that is significantly more annoying when you don't know the solution and completely trivial once you do.
7. Sunken Diver's Chest
Coordinates: 65.4, 5.8
The final puzzle treasure requires you to collect three Diver's Key Fragments.
The fragments come from the fish mobs patrolling the area.
How to open the Sunken Diver's Chest
Travel to the area around 65.4, 5.8.
Kill the relevant fish mobs in the area.
Loot them until you have three Diver's Key Fragments.
Combine the three fragments.
Use the completed key on the Sunken Diver's Chest.
Loot the treasure.
Unlike the other puzzles, this one is mostly a small farming step.
If you don't get all three fragments immediately, keep killing the fish mobs around the area until you've collected the complete set.
The 15 Easy Coiled Isle Treasures
Thankfully, the remaining treasures don't require NPC conversations, fishing, underwater scavenger hunts, or memorizing a button sequence.
They're essentially:
Find object → click object → collect treasure.
Here are all 15.
Treasure | Coordinates |
|---|---|
Possessed Vase | 31.4, 83.5 |
Tarnished Amani Glaive | 55.2, 38.0 |
Damaged Loa Trinket | 46.9, 29.6 |
Ornate Bottle | 67.0, 28.0 |
Waterlogged Basket | 49.5, 32.0 |
Crumbling Urn | 73.5, 56.5 |
Fangbound Sack | 45.9, 66.3 |
Malfunctioning Staff | 75.4, 68.4 |
Jaktu's Cursed Blade | 60.4, 59.5 |
Venomjade Necklace | 64.7, 36.6 |
Stinking Vessel | 53.1, 43.1 |
Smoldering Incense | 29.5, 67.2 |
Forgotten Mask | 64.9, 78.9 |
Zul'jan's Stash | 43.9, 26.5 |
There are 15 standard treasures, so once you've finished these alongside the seven puzzle treasures, you should have all 22 required for the achievement.
What Do You Get for Completing Treasures of the Coiled Isle?
The main reward is the reason most players are here:
Auriferous Venomfang
Completing Treasures of the Coiled Isle rewards the Auriferous Venomfang mount.
The achievement is therefore one of the more straightforward ways to add another mount to your Midnight collection if you don't mind spending some time exploring the island.
You also get reputation while working through the treasure hunt.
Each treasure contributes 50 reputation with Zul'jarra's Forces, meaning the achievement doubles as a small reputation activity.
So even if you're not particularly interested in collecting every mount, the treasure run isn't completely wasted time.
Other Coiled Isle Rewards
The Coiled Isle isn't only about the Auriferous Venomfang.
The island also has the Coiled to Strike achievement, which involves taking on the island's rare enemies.
Completing content around the island can also lead to additional rewards, including the Amani Forge decor and opportunities to obtain the Ruby Writhe and Topaz Skyfang mounts from the relevant rare content.
If you're trying to completely finish the island rather than simply collect one mount, it's worth treating the treasure achievement as only one part of your Coiled Isle checklist.
Ula'tek Uncoiled Meta Achievement
Players going for a full Coiled Isle completion should also keep an eye on the Ula'tek Uncoiled meta achievement.
The meta pulls together several different activities on the island, including:
Exploration
Treasure collection
Rare kills
Campaign progression
Other Coiled Isle activities
That makes the Auriferous Venomfang treasure hunt useful even if you're ultimately working toward the larger meta achievement.
Rather than making several separate trips around the island, you can combine your objectives.
For example, if you're already flying toward a treasure near a rare spawn, check whether that rare is part of your checklist before flying away. A few extra minutes now can save you another trip later.
Fastest Way to Complete the Auriferous Venomfang Achievement
If your only goal is the mount, don't overcomplicate this.
I'd approach the achievement in three stages.
1. Clear the 15 standard treasures
These are the easiest.
Use the coordinates above and collect them whenever you're passing through their area.
2. Finish the seven puzzles
Do these one by one using the solutions in this guide.
The most important things to remember are:
Vul'zahn: medicine → stew → Vul'zahn
Grave: Zan'ja → Ru'ko → Zuzan
Privateer's Cache: fish → dolphin → two key halves
Lost Spirit: Forgotten Trinket
Brine-Crusted Chest: Luminescent Pearl → Nacretta → key
Profane Ritual Spoils: top right → top left → bottom right → bottom left
Sunken Diver's Chest: three key fragments
3. Check the achievement
Once all 22 treasures are collected, Treasures of the Coiled Isle should be complete and the Auriferous Venomfang reward becomes available.
If the achievement hasn't completed, don't immediately assume the guide is wrong. Go through the list and compare your collected treasures against the 22 entries. One missed standard treasure is very easy to overlook.
Auriferous Venomfang Mount Guide: Quick Checklist
For players who just want something they can keep open on a second monitor, here's the short version.
Puzzle treasures
Vul'zahn's Smuggled Treasure — 58.2, 45.7
Grave of Someone Forgotten — 67.3, 48.5
Amani Privateer's Cache — 71.9, 66.6
Lost Spirit — 68.0, 65.9
Brine-Crusted Chest — 70.6, 76.6
Profane Ritual Spoils — 43.6, 67.5
Sunken Diver's Chest — 65.4, 5.8
Standard treasures
Possessed Vase — 31.4, 83.5
Tarnished Amani Glaive — 55.2, 38.0
Damaged Loa Trinket — 46.9, 29.6
Ornate Bottle — 67.0, 28.0
Waterlogged Basket — 49.5, 32.0
Crumbling Urn — 73.5, 56.5
Fangbound Sack — 45.9, 66.3
Malfunctioning Staff — 75.4, 68.4
Jaktu's Cursed Blade — 60.4, 59.5
Venomjade Necklace — 64.7, 36.6
Stinking Vessel — 53.1, 43.1
Smoldering Incense — 29.5, 67.2
Forgotten Mask — 64.9, 78.9
Zul'jan's Stash — 43.9, 26.5
Final Thoughts
The Auriferous Venomfang isn't a particularly difficult mount to obtain. It's just one of those World of Warcraft collectibles that takes longer than it probably should because the game spreads the objectives across an entire zone.
The good news is that you only have seven actual puzzles to deal with.
The other 15 treasures are basically a sightseeing tour with a checklist.
Follow the coordinates, finish the seven small chains, collect all 22 treasures, and Treasures of the Coiled Isle will be done. You'll get the Auriferous Venomfang, some Zul'jarra's Forces reputation, and you'll be one step closer to completing everything The Coiled Isle has to offer in Midnight.
And yes, feeding the dolphin is apparently part of the mount grind.
World of Warcraft never said collecting mounts had to make sense.