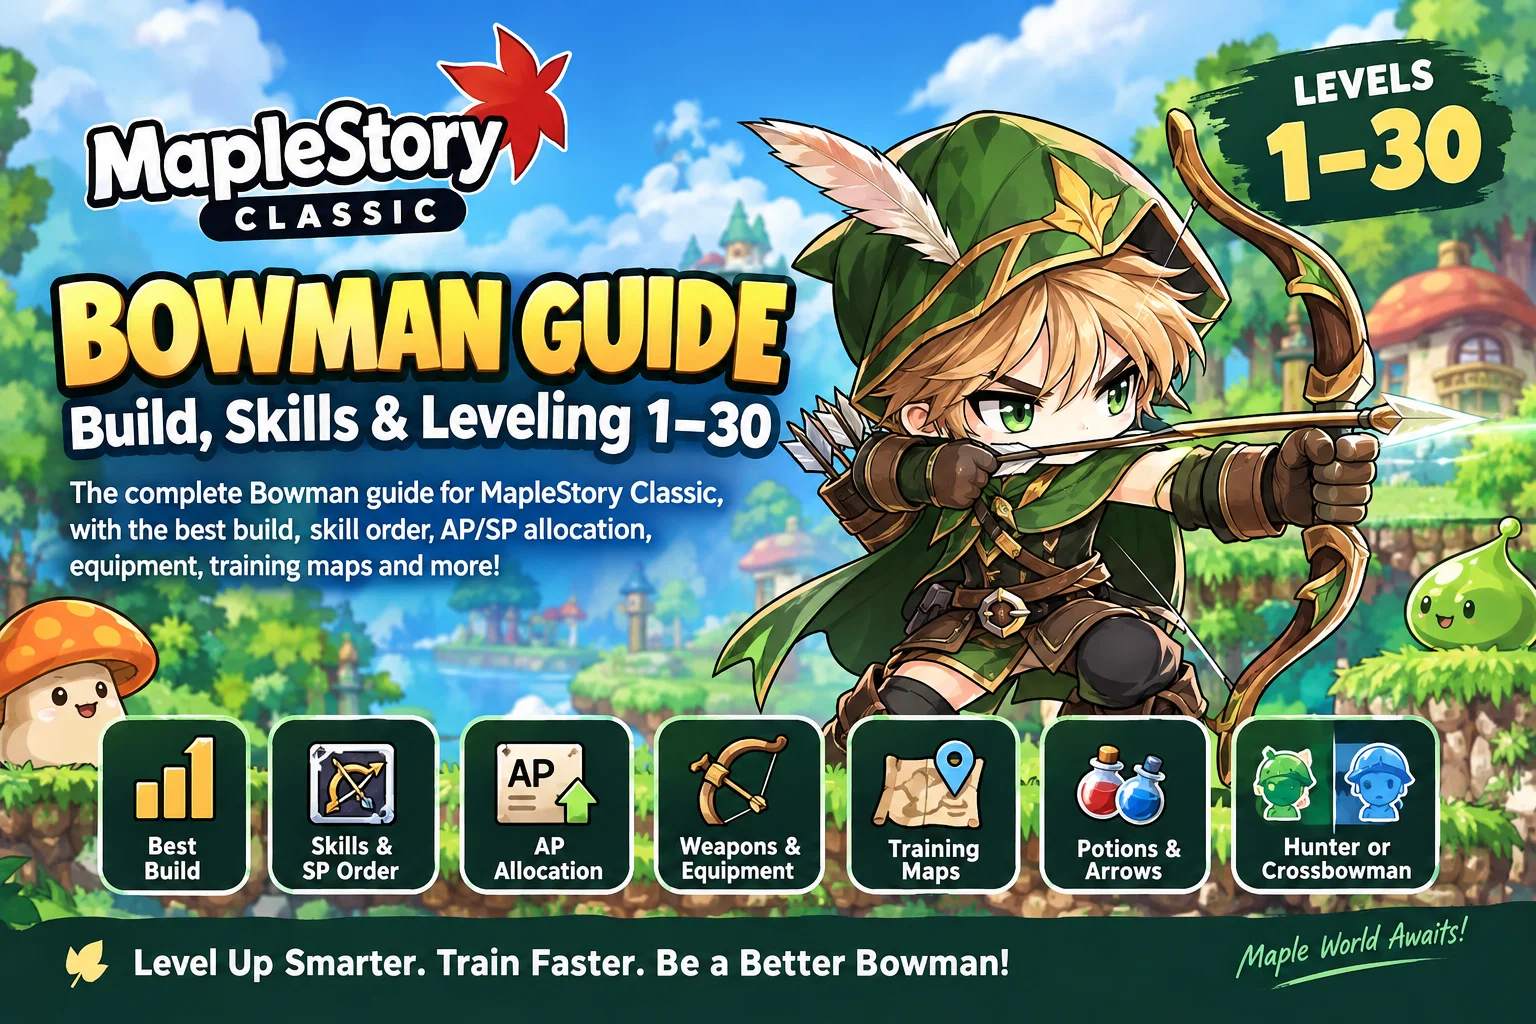
MapleStory Classic Bowman Guide: Build, Skills & Leveling 1–30
MapleStory Classic Bowman Guide: Best Build, Skills and Leveling 1–30
The Bowman is one of the best choices for players who prefer ranged combat, high Accuracy, and the ability to deal damage while keeping monsters at a distance in MapleStory Classic. Instead of standing directly beside enemies, you can attack from far away, use your range advantage to control fights, and improve your damage through critical hits and carefully planned skill progression.
However, the early Bowman experience requires some preparation. Your character has relatively low HP, arrows are a constant expense, and monsters can become dangerous when they get close enough to interrupt your ranged attacks. Choosing the right AP distribution, learning which skills to prioritize, and finding training maps that suit your damage can make the journey to level 30 much smoother.
This MapleStory Classic Bowman guide explains how to build your character from level 1 to level 30, covering ability points, skill points, weapons, arrows, equipment, training locations, potion costs, and your eventual choice between Hunter and Crossbowman.
If you are just starting out in Maple World, read our MapleStory Classic Beginner's Guide first for an overview of early leveling, starting equipment, and first job advancement.
Is Bowman a Good Class in MapleStory Classic?
Bowman is a strong option for players who value range, consistent accuracy, and critical damage. The class becomes more comfortable to play when you have enough range to attack enemies before they reach you and enough damage to defeat them without wasting arrows or MP.
The most important first job skills are Arrow Blow, Critical Shot, The Eye of Amazon, Focus, and Power Knockback. Each has a different purpose, and the order in which you invest skill points affects your early leveling experience.
Claim your first-visit discount now
Bowman advantages
Excellent attack range: The Eye of Amazon increases your bow and crossbow range, letting you attack enemies from farther away. Positioning becomes an important part of your damage and survivability.
High Accuracy: DEX contributes to both damage and Accuracy, while Focus provides another source of Accuracy when you need to hit evasive monsters.
Strong critical attacks: Critical Shot increases your critical rate and critical damage, making it one of the most important offensive skills to develop.
Flexible weapon progression: You can begin with a bow and later specialize as a Hunter, or use a crossbow and advance as a Crossbowman.
Bowman disadvantages
Low early HP: Taking direct hits can quickly become expensive because you need to spend mesos on HP potions.
Limited area damage before second job: Your early attacks are primarily designed around ranged damage rather than clearing large groups of monsters.
Arrow expenses: Every ranged attack consumes ammunition. Skills that use more arrows can significantly increase your training costs.
Vulnerability at close range: When monsters reach you, bow whacking can interrupt your normal ranged attack pattern. You need to maintain enough distance to keep dealing damage consistently.
For most new players, Bowman is a good fit when they enjoy careful positioning and want a class that gradually becomes more effective as critical damage and attack range improve.


Levels 1–10: Preparing for Your First Job
Your Bowman build starts before you visit the class instructor. Ability points invested as a Beginner carry over into your first job, so your early choices matter.
Where to become a Bowman
After completing the introductory quests on Maple Island, travel to Victoria Island and visit Henesys. Speak to Athena Pierce to advance to Bowman at level 10.
In MapleStory Classic World, the first job advancement does not require a particular STR or DEX threshold. You should still build toward your intended class because your AP allocation determines how effectively your character performs after advancing.
Beginner skills
You have three useful Beginner skills before level 10:
Skill | Purpose |
|---|---|
Three Snails | Provides a ranged attack with fixed damage |
Recovery | Restores HP over time |
Nimble Feet | Temporarily increases movement speed |
You can spend your nine Beginner skill points to reach level 3 in all three skills by level 10. The order is largely a matter of preference. Nimble Feet is helpful for traveling between maps, Three Snails gives you a ranged option during the opening levels, and Recovery provides additional healing.
Best ability point allocation from level 1 to 10
For a standard Bowman build, prioritize DEX during your Beginner levels.
A sample level 10 character can have the following base stats:
Stat | Base value |
|---|---|
STR | 5 |
DEX | 57 |
INT | 4 |
LUK | 4 |
This example assumes the standard starting allocation and that the AP earned from levels 2 through 10 is placed into DEX.
DEX is your primary stat because it increases ranged damage and Accuracy. You do not need to add STR just to complete the first job advancement. Instead, introduce STR later when your chosen weapon requires it.
Early weapon choice
Your starting weapon should help you kill weak monsters without wasting too much time or spending valuable mesos on unnecessary replacements. Follow the early weapon progression recommended in our MapleStory Classic Beginner's Guide, then prepare to buy a suitable bow or crossbow once you become a Bowman.
Do not spend your early budget chasing minor upgrades. Your first priority is to establish a reliable damage setup and preserve enough mesos for arrows, potions, and future weapons.
Levels 10–30: Best Bowman Build
Once you become a Bowman, your priorities change. You need to improve your primary attack, increase your range, unlock critical damage, and invest enough points into utility to maintain reliable combat performance.
For a balanced first job build, use the following level 30 skill targets:
Skill | Target level | Main benefit |
|---|---|---|
Arrow Blow | 20 | Powerful single-hit ranged attack |
Critical Shot | 15 | Increases critical rate and critical damage |
The Eye of Amazon | 15 | Adds up to 120 pixels of attack range |
Focus | 10 | Increases Accuracy and Evasion temporarily |
Power Knockback | 1 | Pushes enemies away when they get too close |
Double Shot | 0 | Optional alternative to Arrow Blow |
This setup emphasizes efficient ranged damage while improving the distance at which you can attack. It also provides a small investment into Power Knockback to help when an enemy approaches too closely.
The recommended build is a balanced starting point rather than the only viable allocation. Players who struggle with monsters getting into melee range may prefer additional Power Knockback at the expense of some Focus.
Best Bowman skill point order
The recommended approach is to prioritize Arrow Blow, unlock additional range from The Eye of Amazon early, and then max Critical Shot before completing the remaining range and utility skills.
Level | Skill point investment | Goal |
|---|---|---|
10 | Arrow Blow +1 | Unlock your main ranged attack |
11 | Arrow Blow +3 | Increase initial damage |
12 | Arrow Blow +2, Eye of Amazon +1 | Gain an early range increase |
13–14 | Arrow Blow +6 | Continue improving damage |
15 | Arrow Blow +1, Eye of Amazon +2 | Increase range and unlock Focus |
16–17 | Arrow Blow +6 | Finish leveling the main attack |
18 | Arrow Blow +1, Critical Shot +2 | Max Arrow Blow and start critical investment |
19–22 | Critical Shot +12 | Build critical damage |
23 | Critical Shot +1, Eye of Amazon +2 | Max Critical Shot and improve range |
24–26 | Eye of Amazon +9 | Continue increasing attack range |
27 | Eye of Amazon +1, Focus +2 | Max Eye of Amazon |
28–29 | Focus +6 | Improve Accuracy and Evasion |
30 | Focus +2, Power Knockback +1 | Complete the balanced first job build |
Important: Finish your first job skill allocation before advancing at level 30. Skill points gained in your second job cannot be used to fill missing first job skills, so check your totals before completing the advancement.
Should you max Arrow Blow or Double Shot?
Arrow Blow and Double Shot are both useful, but they serve slightly different purposes.
Arrow Blow concentrates its damage into one hit. Double Shot fires two arrows, each dealing a smaller portion of the total damage. Both can reach 240% total damage at maximum skill level, but their MP consumption, ammunition requirements, and range differ.
Comparison | Arrow Blow | Double Shot |
|---|---|---|
Maximum damage | 240% in one hit | 120% per arrow, two arrows |
MP cost | 14 MP | 16 MP |
Arrows consumed | 1 | 2 |
Range with max Eye of Amazon | 470 pixels | 420 pixels |
Main strength | Cost efficiency and knockback potential | Can distribute hits across two monsters |
Main drawback | One damage hit per cast | Higher MP and arrow cost |
Arrow Blow is the recommended default for leveling from 10 to 30. It costs less MP, consumes one fewer arrow, and offers greater range with a fully upgraded Eye of Amazon. Its stronger single hit can also make it easier to push an enemy back.
Double Shot becomes interesting when you fight weaker monsters and can use its two arrows to finish separate targets. However, spreading attacks across enemies can attract more monsters toward you, which is not always desirable when playing a low-HP ranged character.
For most new Bowmen, maxing Arrow Blow first gives you a straightforward attack that is economical to use throughout the early game.
Why The Eye of Amazon matters
The Eye of Amazon increases bow and crossbow range. Although investing in this skill early means temporarily delaying some damage improvements, the extra distance can make a meaningful difference to your training experience.
Longer range lets you attack monsters earlier, reduces the time they spend approaching you, and gives you more room to reposition when a platform becomes crowded. It can also reduce how often you are forced into bow whacking.
A pure damage-first build is also viable. Players who prefer to increase damage before extending their range can prioritize Arrow Blow and Critical Shot, then invest in Eye of Amazon afterward. The balanced skill order above sacrifices a small amount of early damage to gain range sooner.
When to invest in Power Knockback
Power Knockback pushes nearby enemies away, giving you an opportunity to resume ranged attacks. The skill is useful when you repeatedly find yourself cornered by fast-moving monsters or fighting on narrow platforms.
One point is sufficient for the balanced level 30 build. If close-range interruptions are your biggest problem, you can invest more points into Power Knockback at the cost of some Focus.
However, do not sacrifice Accuracy without considering the monsters you intend to fight. A skill distribution that makes you miss less often can deliver better real-world training speed than one that focuses exclusively on damage or knockback.
Ability Point Allocation From Level 10 to 30
DEX is your principal damage stat, while STR becomes important when equipping weapons with specific requirements. Your ideal allocation depends on whether you use a bow or a crossbow.
The following examples illustrate a progression that keeps weapon requirements in mind.
Recommended bow AP progression
Level | AP investment | Base STR | Base DEX |
|---|---|---|---|
10 | Starting checkpoint | 5 | 57 |
11–15 | +10 STR, +15 DEX | 15 | 72 |
16–20 | +5 STR, +20 DEX | 20 | 92 |
21–25 | +5 STR, +20 DEX | 25 | 112 |
26–30 | +5 STR, +20 DEX | 30 | 132 |
This approach steadily increases STR while maintaining DEX as your primary stat. Treat it as a sample build rather than a strict rule for every character.
Recommended crossbow AP progression
Crossbows have different equipment requirements, so their AP distribution can favor DEX more heavily.
Level | AP investment | Base STR | Base DEX |
|---|---|---|---|
10 | Starting checkpoint | 5 | 57 |
11–15 | +25 DEX | 5 | 82 |
16–20 | +5 STR, +20 DEX | 10 | 102 |
21–25 | +5 STR, +20 DEX | 15 | 122 |
26–30 | +5 STR, +20 DEX | 20 | 142 |
Before adding more STR, check the requirements of your next weapon and the stats provided by your equipment. Bonuses from other items may allow you to meet the requirement without investing additional AP.
Remember that a weapon's own stats do not count toward the requirements needed to equip that weapon. Plan around the stats you have before equipping the new item.
Bow vs Crossbow: Which Weapon Should You Use?
Both weapon types are effective for early Bowman progression, but they suit different preferences.
Bows generally offer faster attacks, which can result in better damage per second when your individual hits are strong enough. Faster attack speed can also make your combat feel more responsive.
Crossbows tend to hit harder per arrow and can offer better damage per MP, but their slower attack speed may reduce overall DPS. Their requirements also differ from those of bows, giving you some flexibility in your AP allocation.
Your actual performance depends on weapon attack, attack speed, character stats, ammunition, and the monsters you fight. Do not choose a weapon solely by looking at its displayed attack value.
A practical rule for levels 10–30 is to use whichever weapon offers a meaningful upgrade without requiring an expensive change to your entire build. If you receive a good weapon from a monster drop, compare it with your current equipment before spending mesos at a shop.
Best Bowman Equipment From Level 10 to 30
You do not need expensive endgame equipment to level efficiently. A reasonable weapon at each level checkpoint, enough ammunition, and affordable armor are generally sufficient.
These are useful weapon options to consider as you progress:
Level range | Bow options | Crossbow options |
|---|---|---|
Level 10 | War Bow | Crossbow |
Level 15 | Composite Bow | Battle Crossbow |
Level 20 | Hunter's Bow | Balanche |
Level 25 | Battle Bow | Mountain Crossbow |
Level 30 | Ryden | Eagle Crow |
Choose based on your existing equipment, weapon requirements, and available mesos. The strongest option on paper is not automatically the best purchase if upgrading would leave you without enough money for potions or arrows.
Should you prioritize Weapon Attack or Critical Rate?
Weapon Attack is generally the better upgrade to prioritize on early Bowman gloves.
Critical Rate improves how frequently you land critical hits, while Weapon Attack raises your damage directly. In the level 30 example build, adding five Weapon Attack produces a much larger increase in expected Arrow Blow damage than adding five percentage points of critical rate.
This is especially useful when you want to reach reliable monster kill thresholds. Raising the damage of your weakest normal hit can help you defeat monsters in a predictable number of attacks instead of relying on a lucky critical hit.
Before spending mesos on scrolls, check the cost, success rate, number of available slots, and whether the item is worth upgrading at your current level.
Level 30 armor upgrades
At level 30, a Sauna Robe can be a practical overall armor choice for Bowmen. Blue and Red Sauna Robes start with a bonus to all four main stats and have multiple upgrade slots.
A robe upgraded with suitable DEX scrolls can become a useful offensive item because it contributes to the stat that directly supports your damage and Accuracy.
Do not assume that you need to upgrade every armor slot before continuing to level. A weapon upgrade that noticeably improves your damage will often be more valuable than spending your entire budget on small defensive increases.
Arrows and Ammunition Management
Arrows are one of the recurring costs that Bowmen must manage from level 10 onward. Since each ranged attack consumes ammunition, running out during a training session can force you to travel back to town.
Regular arrows provide a cheap starting option. Bronze Arrows for bows provide an additional Weapon Attack bonus but cost more mesos per arrow and have a smaller stack size.
In the guide's current setup, Bronze Arrows for bows become available through Henesys citizenship at Helpful Stranger grade 3, which requires level 22 and 3,500 citizenship contribution.
A few simple habits will keep your training sessions running smoothly:
Carry enough arrows for your expected session instead of waiting until the stack is nearly empty.
Remember that Arrow Blow consumes one arrow and Double Shot consumes two.
Compare the cost of stronger arrows against the increase in damage. More expensive ammunition is not always worth buying when you are fighting weak monsters.
Keep an eye on your inventory before leaving town, especially when traveling to maps that require a long return trip.
Ammunition efficiency is one of the reasons Arrow Blow works so well for the first job. Its combination of lower MP consumption, lower arrow consumption, and greater range makes it an economical choice for consistent grinding.
Best Bowman Training Maps From Level 10 to 30
The best training map is the one where you can defeat monsters reliably with minimal downtime. Monster level alone is not enough to determine whether a map is efficient.
Your Accuracy, average damage, damage consistency, monster spawn rate, platform layout, and travel time all affect your overall EXP per hour. A map filled with higher-level monsters can perform worse than a lower-level area if enemies take too long to kill or frequently interrupt your ranged attacks.
Levels 10–15
Focus on accessible training areas around Henesys and nearby forests while you build Arrow Blow.
Mushroom Garden and beginner-friendly maps with Slimes are reasonable options when you can kill the monsters consistently. The main goal is to improve your skill levels and establish a comfortable potion and ammunition routine.
Avoid moving to a monster that you frequently miss. Each miss wastes time, MP, and an arrow without advancing your leveling progress.
Levels 15–20
As Arrow Blow improves, consider Dungeon, Southern Forest I and Mushroom Garden. These locations can offer efficient kills for a Bowman with sufficient DEX and suitable equipment.
At this stage, prioritize enemies that you can eliminate in a predictable number of attacks. Keep enough space between yourself and approaching monsters so that you can use your attack range effectively.
If the map has narrow platforms or fast-moving enemies, consider a different area. Spending most of your time moving away from monsters instead of attacking will reduce your practical leveling speed.
Levels 20–25
Tree Dungeon, Forest Up North IV and Dungeon, Southern Forest III are useful areas to evaluate as your damage increases.
Check your Accuracy before committing to a higher-level training spot. If you miss regularly, stay on a map where your attacks connect more consistently while improving your equipment or gaining another level.
The best choice is not necessarily the monster that gives the most EXP per kill. Consider how long it takes to defeat the monster, how many potions you use, and how quickly you can move between targets.
Levels 25–30
Continue using Tree Dungeon and Southern Forest locations if they still provide efficient kills. As your damage improves, you can evaluate Kerning City training areas and monsters such as Bubblings and Stirges.
Around level 30, Transfer Area and Line 1 Area 1 are examples of locations worth considering for a suitable build. Your actual performance will depend on your damage and ability to defeat the local monsters consistently.
How to know when to change maps
Use these indicators instead of switching locations based only on character level:
Accuracy: If you frequently miss, your actual EXP per minute will suffer.
Hits required: A monster that takes too many attacks may be less efficient than a weaker enemy that dies quickly.
Positioning: Platforms that allow you to maintain distance can be more effective than crowded maps where monsters repeatedly reach you.
Travel time: Long trips to refill arrows or potions can offset the benefit of a map with better monster EXP.
Potion costs: A map that generates more EXP but consumes significantly more mesos may not be the best option for a new character.
As you acquire better weapons and max Arrow Blow, revisit maps that were previously inefficient. Your strongest training location will change as your build develops.
Best Potions for Early Bowman Leveling
Potion expenses can add up quickly if you use skills continuously. Efficient Bowman leveling means managing HP, MP, and ammunition together.
For HP, affordable recovery items such as Red Potions, Fried Chicken, and Meat can offer useful value at early levels. For MP, Orange Potions and Lemons provide straightforward recovery options.
Use buffs and Accuracy potions when they solve a specific problem. For example, an Accuracy potion may be worthwhile if it helps you avoid repeated misses against a monster you want to farm. However, a potion that does not change your practical kill speed can be an unnecessary expense.
The goal is not to use the strongest potion available. It is to use the most cost-effective recovery item that keeps you training safely.
Here are a few useful habits for keeping your costs under control:
Use normal attacks when a monster has very little HP remaining and a skill would be unnecessary.
Prefer Arrow Blow when its lower MP and ammunition costs are sufficient to defeat your target.
Carry both HP and MP potions, but adjust your stock according to how frequently you take damage and use skills.
Do not buy expensive equipment upgrades if doing so leaves you unable to afford basic supplies.
You can also explore MapleStory Classic Mesos if you want to learn more about your character's currency options and progression resources.
Common Bowman Mistakes to Avoid
1. Spending too much AP on STR
STR matters for weapon requirements, but DEX remains the primary stat for Bowman damage and Accuracy. Add only the STR you need for your planned equipment, taking existing gear bonuses into account.
2. Copying a bow build for a crossbow character
Bow and crossbow requirements can differ. Follow the weapon progression you actually intend to use rather than spending AP according to a different weapon type.
3. Ignoring Accuracy
High theoretical damage is of little value when too many attacks miss. Review your Accuracy before choosing monsters, and consider equipment or temporary buffs when they can solve a small Accuracy gap.
4. Using Double Shot for every situation
Double Shot can be useful when its two arrows hit separate enemies, but its higher MP cost and ammunition use make it less economical for routine single-target training. Arrow Blow is the recommended default for most of the first job.
5. Letting monsters get too close
Bowmen are at their best when they can keep enemies at range. Use the environment to create distance, avoid crowded platforms when possible, and consider Power Knockback if close-range interruptions become a regular problem.
6. Spending all your mesos on gear
A small damage upgrade may not be worthwhile if it leaves you without potions or arrows. Prioritize upgrades that noticeably improve your kill speed, then replace other items when you can afford them.
7. Forgetting to finish first job skills
Plan your skill points before level 30. Once you advance to your next job, newly earned SP cannot be allocated to first job skills. Check the recommended totals before speaking to Athena Pierce for your advancement.
Level 30 Advancement: Hunter or Crossbowman?
At level 30, your next decision is whether to specialize with bows or crossbows.
The second job advancement begins with Athena Pierce in Henesys. She directs you to the Bowman Job Instructor, where you complete a test and collect 30 Dark Marbles. After receiving the Proof of a Hero, return to Athena Pierce and choose your specialization.
Hunter
Hunter uses bows and develops into a ranged damage dealer with stronger group attacks. Important second job abilities include Bow Mastery, Bow Booster, and Arrow Bomb.
Arrow Bomb makes Hunter an appealing choice for players who want to expand their ability to fight multiple enemies. Its group damage and stun potential add another layer of control to the ranged playstyle.
Choose Hunter if you prefer bows, faster attacks, and a progression path built around bow-focused abilities.
Crossbowman
Crossbowman specializes in crossbows and develops a different set of ranged combat tools. Crossbow Mastery improves the class's damage potential, while Iron Arrow provides a piercing attack that can hit multiple enemies along a line.
Choose Crossbowman if you prefer heavier individual hits and want to build around crossbow-specific skills.
Neither specialization is automatically the best for every player. Consider the weapons you already own, your preferred attack speed, and the style of combat you enjoy before committing to your second job.
Final Bowman Build Recommendation
For a dependable level 30 Bowman, prioritize DEX while meeting your weapon's STR requirements, max Arrow Blow, Critical Shot, and The Eye of Amazon, and complete the build with Focus 10 and Power Knockback 1.
This setup offers a practical balance of attack damage, critical performance, range, Accuracy, and basic close-range protection. Use Arrow Blow as your default attack, maintain a sufficient supply of arrows, and choose training locations where your damage and Accuracy let you defeat monsters consistently.
Most importantly, evaluate your character based on actual performance rather than following a build blindly. A small equipment improvement, a better training map, or a more efficient potion routine can make a bigger difference than investing every point into damage.
If you are exploring other classes, check out our MapleStory Classic Warrior Guide and MapleStory Classic Thief Guide for more first job builds and leveling advice.
For players who would rather spend less time grinding, misti.services MapleStory Classic leveling services provide another progression option. You can also browse the full MapleStory Classic service hub for the available services.